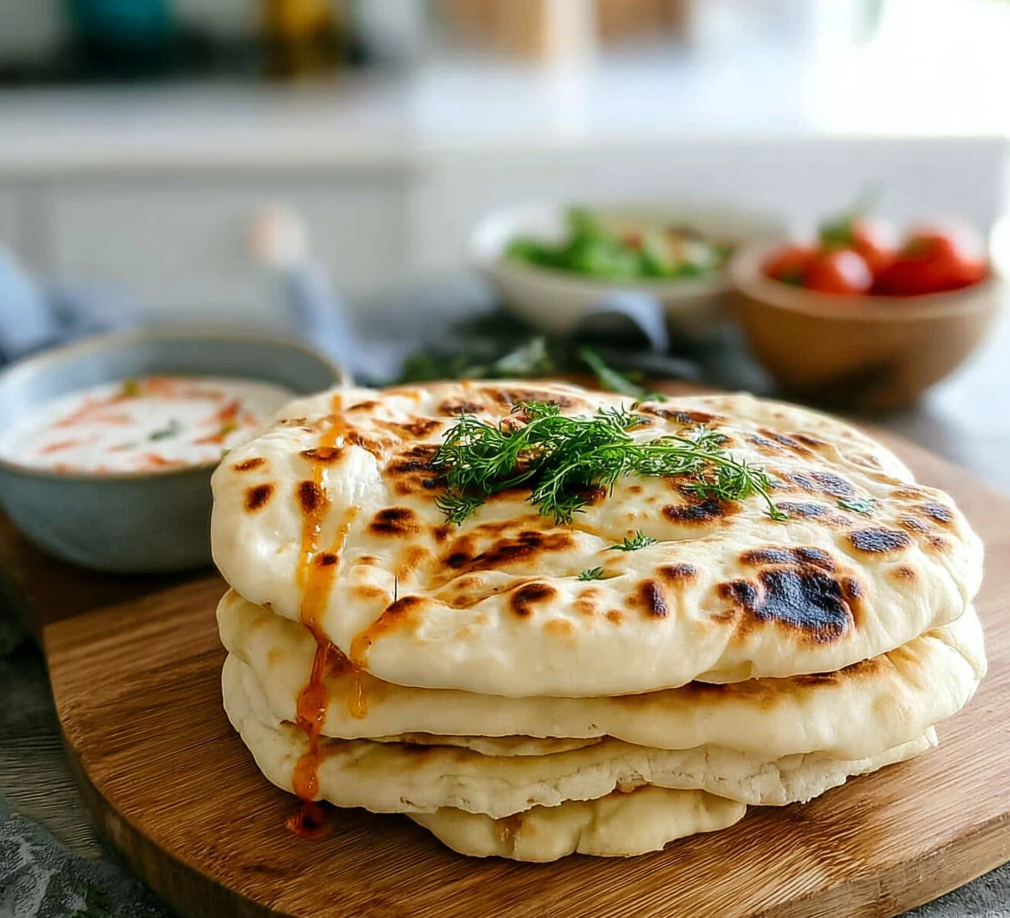
Imagine pulling a warm, fluffy Homemade Pita Bread from the oven, its golden crust crackling as it cools. The delightful aroma wafts through your kitchen, wrapping you in a cozy embrace that makes even the grumpiest of mornings feel like a sunny picnic day. Each bite is a pillowy cloud, perfect for scooping up your favorite dips or holding onto grilled meats like they were meant to be best friends. Trust me; once you taste this pita, you’ll wonder how you ever lived without it.
Now, let me take you on a nostalgic journey. I remember the first time I attempted to make Homemade Pita Bread. The flour fogged my kitchen, and I may have accidentally turned my kitchen into a scene from a slapstick comedy. But once those little rounds puffed up in the oven, all my calamities faded away with the smell of freshly baked bread. Every family gathering since has been punctuated by laughter and shared stories over homemade falafel and warm pita—perfect for any occasion, whether it’s game night or an impromptu feast.
– Preparing Homemade Pita Bread is surprisingly easy and requires minimal ingredients.
– Its soft texture and slight chewiness make it an irresistible addition to any meal.
– The warm, golden pockets are visually stunning, making your table look gourmet.
– Enjoy this versatile bread with dips, salads, or as a sandwich base for endless possibilities.
Ingredients for Homemade Pita Bread
Here’s what you’ll need to make this delicious dish:
- All-Purpose Flour: A staple for creating that perfect dough; choose unbleached for better flavor and texture.
- Warm Water: Activates the yeast; aim for around 110°F (43°C) for optimal rising.
- Active Dry Yeast: This little magic powder helps your dough rise beautifully; always check expiration dates!
- Olive Oil: Adds richness to the dough and keeps it moist during baking; extra virgin is preferable.
- Salt: Essential for flavor; don’t skip this step or your pita might be bland!
The full ingredients list, including measurements, is provided in the recipe card directly below.
How to Make Homemade Pita Bread
Follow these simple steps to prepare this delicious dish:
Step 1: Activate the Yeast
In a small bowl, combine warm water and active dry yeast. Allow it to sit for about 5-10 minutes until frothy—this means your yeast is alive and ready to party!
Step 2: Mix the Dough
In a large mixing bowl, whisk together all-purpose flour and salt. Create a well in the center and pour in the activated yeast mixture along with olive oil. Mix until combined.
Step 3: Knead It Out
Turn your dough onto a floured surface and knead for about 8-10 minutes until smooth and elastic. Think of it as giving your dough a good workout—no gym membership required!
Step 4: Let It Rise
Place the kneaded dough in an oiled bowl, cover with a damp cloth or plastic wrap, and let it rise in a warm spot until doubled in size (about an hour). This is where patience comes in; maybe catch up on that show you’ve been meaning to watch.
Step 5: Shape the Pitas
Once risen, punch down the dough (yep, give it some tough love), then divide it into equal portions (about eight). Roll each portion into balls, then flatten them into discs about half an inch thick.
Step 6: Bake Away!
Preheat your oven to its highest setting (usually around 475°F or 245°C). Place pitas on a baking sheet lined with parchment paper. Bake for about 5-7 minutes until they puff up gloriously—like little edible balloons!
Transfer to plates and serve warm with hummus or stuffed with vibrant veggies and grilled meats for an unforgettable meal.
Now that you’ve mastered Homemade Pita Bread, get ready to impress friends and family at gatherings! Just imagine their faces when they realize they can tear off pieces of fresh bread right from the oven—it’s bound to start conversations about how you’ve become this culinary wizard overnight! Enjoy every bite!
Perfecting the Cooking Process
To achieve the fluffiest Homemade Pita Bread, start by mixing your dough while letting the oven preheat. Shape the pitas as the dough rises, then cook them on a hot baking stone or cast iron skillet for a quick puff. Timing is key!
Add Your Touch
Feel free to experiment! Swap all-purpose flour for whole wheat for a nuttier flavor, or add herbs like rosemary or garlic powder to the dough. If you’re feeling adventurous, try stuffing your pita with roasted veggies or grilled meats!
Storing & Reheating
Store cooled pitas in an airtight container at room temperature for up to three days. To reheat, simply pop them in a warm oven for a few minutes or on a skillet until they puff back up and become soft again.
– For best results, let your dough rest long enough to rise properly; this will create those lovely pockets.
– Avoid overworking the dough; gentle kneading helps maintain its airy texture.
– Preheat your cooking surface well; a hot skillet ensures those pitas puff beautifully.
I remember the first time I made Homemade Pita Bread—it was a hit at our family gathering! My cousin couldn’t believe I had made them from scratch and kept asking for tips on how to get that perfect puff.
FAQs :
What is the best flour for Homemade Pita Bread?
When making homemade pita bread, all-purpose flour works well, but using bread flour can yield a chewier texture. Whole wheat flour is also an excellent option for a healthier version. Consider a blend of both for added flavor and nutrition. The gluten content in bread flour helps achieve that perfect puff when baking, while whole wheat adds a nutty taste. Experimenting with different flours can lead to delicious variations in your homemade pita bread.
How long does it take to make Homemade Pita Bread?
Making homemade pita bread typically takes about 2 hours from start to finish. This includes mixing the ingredients, allowing the dough to rise for about an hour, and shaping the pitas before baking them for just a few minutes. The actual hands-on time is around 30 minutes, while the rest is waiting for the dough to rise and bake. You can prepare several batches at once and freeze extra pitas for quick meals later.
Can I freeze Homemade Pita Bread?
Yes, you can freeze homemade pita bread! After baking, allow the pitas to cool completely. Then, stack them with parchment paper in between each piece to prevent sticking. Place them in a freezer-safe bag or container and store them for up to three months. When you’re ready to enjoy them, simply thaw at room temperature or warm them in the oven for a few minutes. This makes enjoying fresh pita bread convenient anytime!
How do I get my Homemade Pita Bread to puff up?
To ensure your homemade pita bread puffs up perfectly, preheat your oven thoroughly before baking. Use a pizza stone or a baking sheet placed upside down for better heat distribution. Roll your dough evenly and avoid overworking it; thicker edges may prevent proper puffing. Additionally, bake your pitas quickly at high temperatures (around 475°F) to create steam that causes them to puff up beautifully during cooking.
Conclusion for Homemade Pita Bread :
Homemade pita bread is simple and rewarding to make. With just a few basic ingredients like flour, water, yeast, and salt, you can create soft and fluffy pockets perfect for stuffing or dipping. Remember to allow adequate rising time and bake at high temperatures for optimal puffing. Enjoy experimenting with different flavors and flours as you perfect this versatile flatbread recipe! Embrace the joy of making homemade pita bread and elevate your meals today!
Homemade Pita Bread
Experience the warm, fluffy delight of homemade pita bread—perfect for dipping or stuffing with your favorite fillings.
- Prep Time: 30 minutes
- Cook Time: 7 minutes
- Total Time: 37 minutes
- Yield: Makes about 8 servings 1x
- Category: Bread
- Method: Baking
- Cuisine: Middle Eastern
Ingredients
- 3 cups all-purpose flour
- 1 ½ tsp active dry yeast
- 1 ¼ cups warm water (about 110°F/43°C)
- 2 tbsp olive oil
- 1 tsp salt
Instructions
- 1. Activate the Yeast: In a small bowl, combine warm water and active dry yeast. Let it sit for about 5-10 minutes until frothy.
- 2. Mix the Dough: In a large mixing bowl, whisk together all-purpose flour and salt. Create a well in the center and pour in the activated yeast mixture along with olive oil. Stir until combined.
- 3. Knead the Dough: Turn your dough onto a floured surface and knead for about 8-10 minutes until smooth and elastic.
- 4. Let It Rise: Place the kneaded dough in an oiled bowl, cover with a damp cloth or plastic wrap, and let it rise in a warm spot until doubled in size (about an hour).
- 5. Shape the Pitas: Once risen, punch down the dough and divide it into eight equal portions. Roll each portion into balls, then flatten them into discs about half an inch thick.
- 6. Bake the Pitas: Preheat your oven to its highest setting (around 475°F/245°C). Place pitas on a baking sheet lined with parchment paper. Bake for about 5-7 minutes until they puff up beautifully.
Nutrition
- Serving Size: 1 serving
- Calories: 150
- Sugar: 0g
- Sodium: 250mg
- Fat: 2g
- Saturated Fat: 0g
- Unsaturated Fat: 2g
- Trans Fat: 0g
- Carbohydrates: 28g
- Fiber: 1g
- Protein: 4g
- Cholesterol: 0mg